
How to make thick eyebrows in Photoshop
March 1, 2017 at 2:03:20 PM GMT+2Contents
This lesson is part of a larger section on editing eyes photos in Photoshop. For a more detailed study of photo retouching we recommend you to read the other articles on the topic:
- Contrast enhancement in the pupil
- Darkening the edges of the iris
- Add expressiveness to the eyes
- The creation of new and adjustment of existing glare
- Lightening the whites and the orbits of the eyes
- Remove the red veins in the eyes
- Change the color of the eyes
- Increase and decrease the size of the eye
- To replace one eye with another
- Retouch of the eyelashes
- Correction of the shape of the eyebrows
- Thick eyebrows
- Darkening the eyebrows
- Sharpening the eyes
The last thing we want to see in the pictures are the gaps in the eyebrows or sparse eyebrows. However, this situation occurs quite often. But it can be corrected by painting the eyebrow hairs. You probably thought, “That's not for me. The artist in me is terrible." But there is nothing to worry about. It is easy to do. You will definitely succeed the first time, even if you use a mouse and not a tablet, as we do.
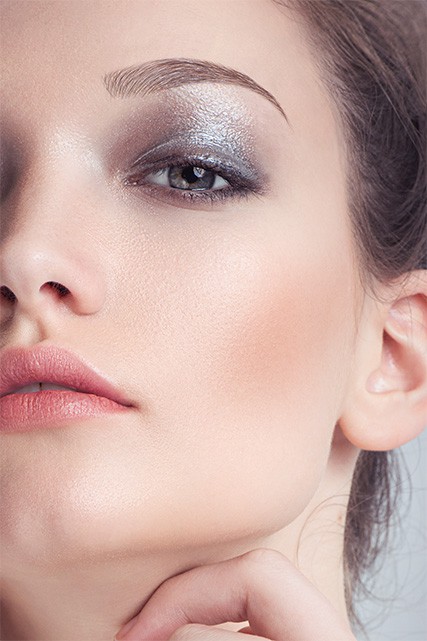
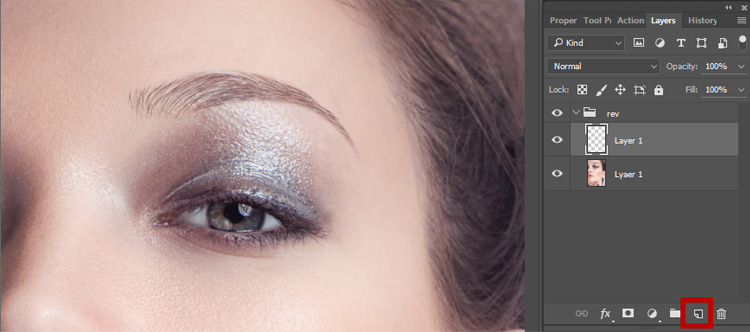
Step 1
We have an image that we need to retouch. To create a new net layer, click the Create a New Layer, which is available at the bottom of the Layers panel.
Step 2
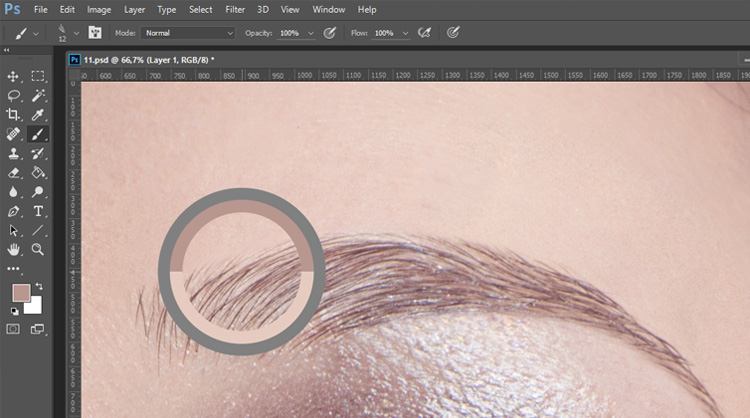
Maximum zoom in a part of the image you are interested in. Use the Brush tool < B > and select a soft brush, which diameter is approximately equal to the thickness of the hair of the eyebrow. In each case it is necessary to analyze the image itself. Perhaps for one image there's enough 1px brush thickness and for another image you need 4px brush thickness.
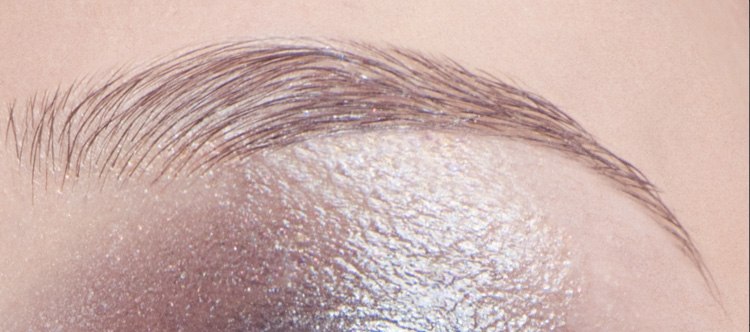
Step 3
Press and hold down < Alt> (< Option>) to temporarily switch the Eyedropper tool. Click on the hair of an eyebrow, to use the color as a source of cloning. The selected color will be the main on the toolbar. Usually in different parts of an eyebrow the hair shades differ, so you need to change the samples of the color while drawing.
Step 4
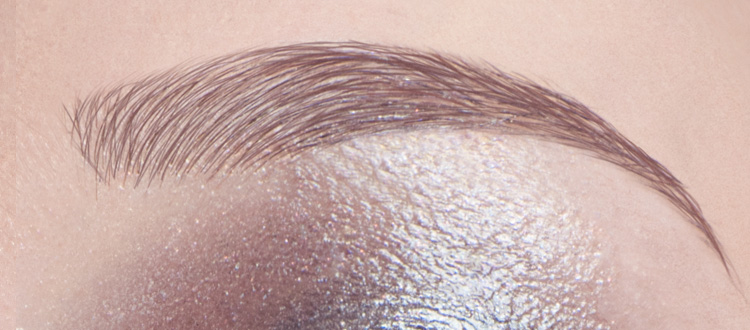
Draw the new hairs in those areas where you want to make an eyebrow thicker. Now the effect doesn't look very good, and soon will look even worse. But we will correct everything in the last step. Apply brush strokes adding the new hairs to an eyebrow. Be sure to apply the brush strokes in the direction of hair growth. Fill in all the gaps. Working with graphic tablet is much easier. Continue applying the brush strokes in the direction of hair growth and press easier on the tablet as you get closer to the outer edge of the eyebrow (closest to ear).
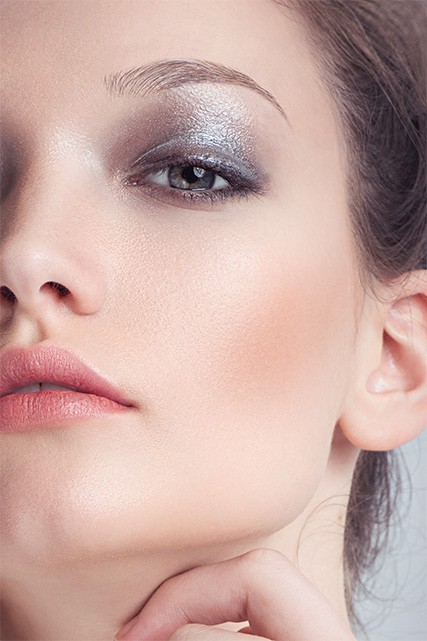
Now the eyebrow looks pretty thick, but artificial hairs stand out pretty much and look unnatural.
Step 5
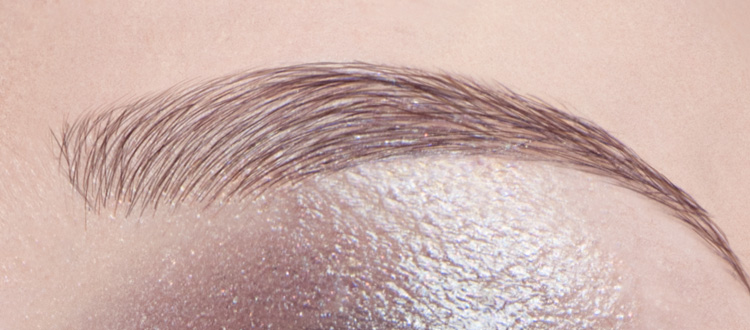
To make the results of the retouch looking natural and hardly noticeable you can use two methods. The first one is to reduce the opacity of the layer (in this case, this value is not changed). Another method is to change the layer's blending mode to Multiply in the drop-down list at the top of the Layers panel and then reduce the opacity of the layer to 25-35%. (The use of the Multiply blend mode allows you to do the overlay less noticeable, but the image is darkened and you need to reduce the opacity of the layer much more. It all depends on the specific image, but as a rule, the results are more interesting if you use the blend mode Multiply. It is better to try both methods and see which one is more suitable for a particular image.)
Video tutorial