Brightening the whites of the eyes
February 16, 2017 at 2:19:28 PM GMT+2Contents
This lesson is part of a larger section on editing eyes photos in Photoshop. For a more detailed study of photo retouching we recommend you to read the other articles on the topic:
- Contrast enhancement in the pupil
- Darkening the edges of the iris
- Add expressiveness to the eyes
- The creation of new and adjustment of existing glare
- Brightening the whites of the eyes
- Remove the red veins in the eyes
- Change the color of the eyes
- Increase and decrease the size of the eye
- To replace one eye with another
- Retouch of the eyelashes
- Correction of the shape of the eyebrows
- The creation of thick eyebrows
- Darkening the eyebrows
- Sharpening the eyes
This technique of retouching can be applied to all the photos in which the model's eyes are wide open. In most of the photos the whites of the eyes are not pure white but light gray. This is one of those techniques that you should use once or several times, even if you feel like whites are quite bright. Visually assessing the difference between the original and edited image, you will use this technique constantly.
Step 1
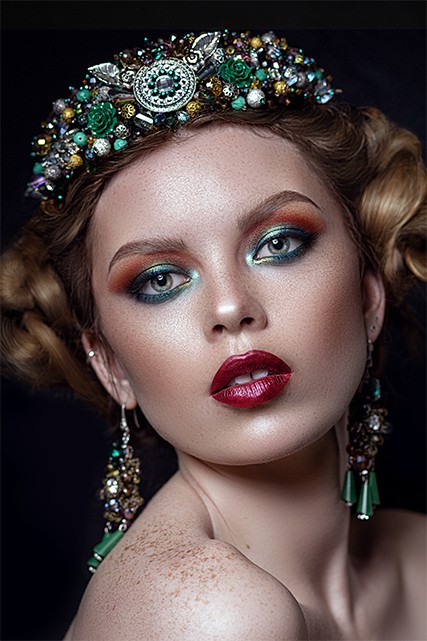
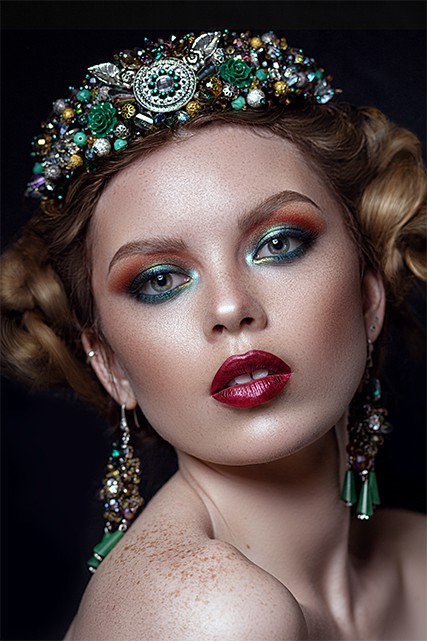
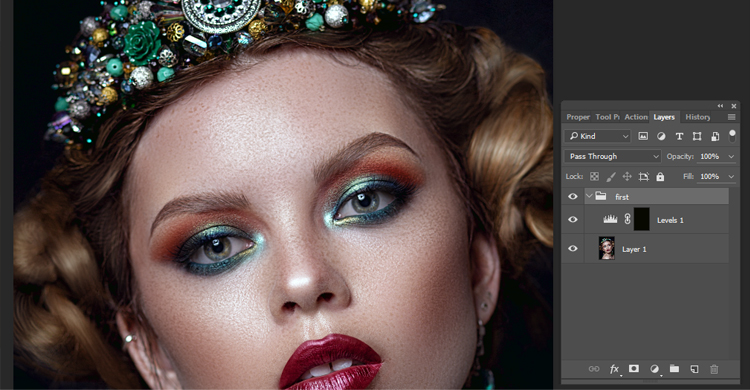
We will demonstrate two different methods of lightening the whites of the eyes in portrait photos. The picture to this step shows the first original image. The model's face is lightened well enough but as often happens in such cases, the whites of her eyes look almost grey (at least, not white). Start retouching.
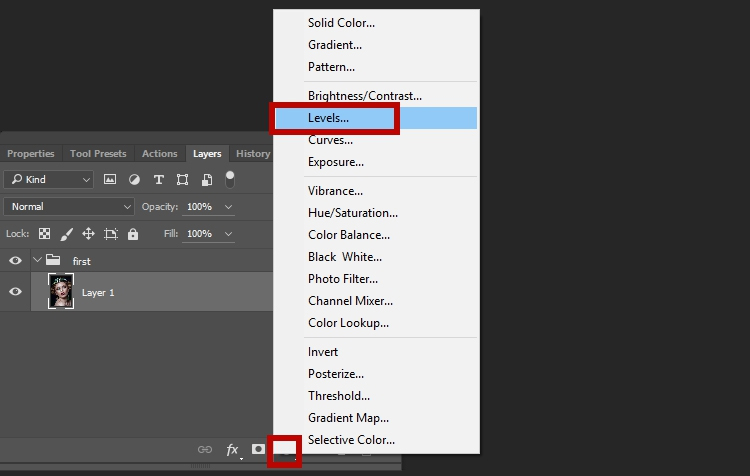
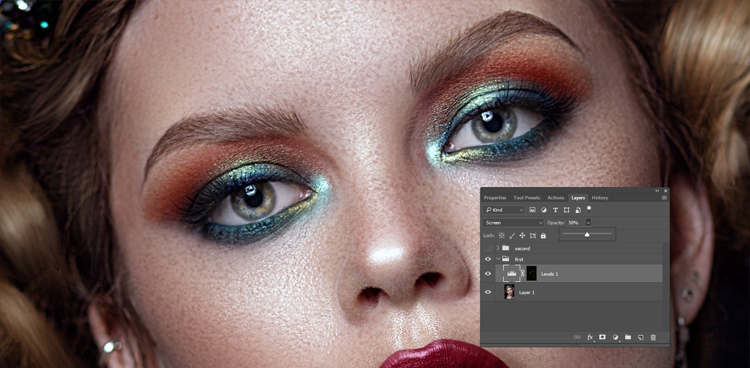
At the bottom of the Layers panel, click on the ‘Create New Adjustment Layer’ and select from the menu ‘Levels’ (creation of an adjustment layer does not increase the Photoshop file size, which means that the program will work faster).
Step 2
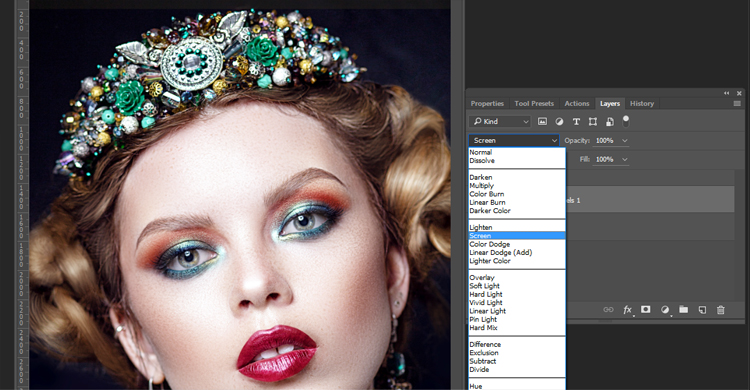
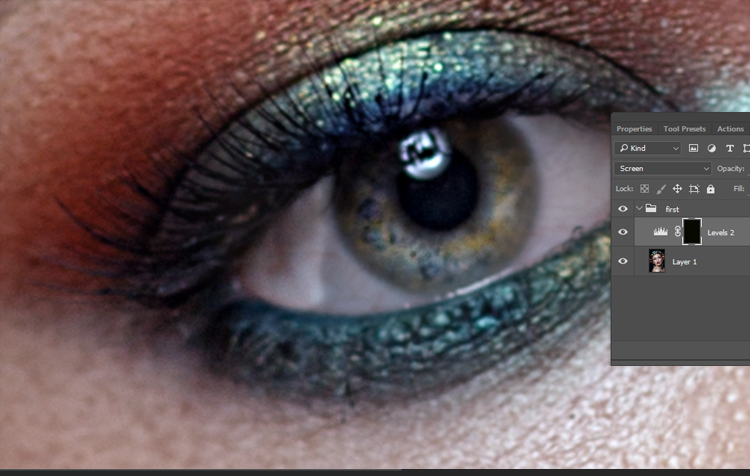
At the top of the Layers panel change the blending mode for the adjustment layer to ‘Screen’. This blending mode makes the image much brighter. (Compare the image in this step with an image in step 1)
Step 3
The problem is that we want not only to lighten the whites of the eyes of our model (and possibly the iris), but to retain all other elements of photography without any changes. For this purpose, create a simple mask. Press the key combination < Ctrl + I > (<⌘+ I>) to invert the adjustment layer mask. The bleached version of the image, which is obtained by changing the blend mode, is completely hidden under the black mask.
Step 4
Zoom in the image of one eye, press <X> to set white as the main color, and press < On > to activate the Brush tool. Select a very small brush with soft edges from the brushes palette and start painting over the whites of the eyes. This area will become much brighter when drawing, as we "open" the image that is hidden by the mask of the adjustment layer.
Step 5
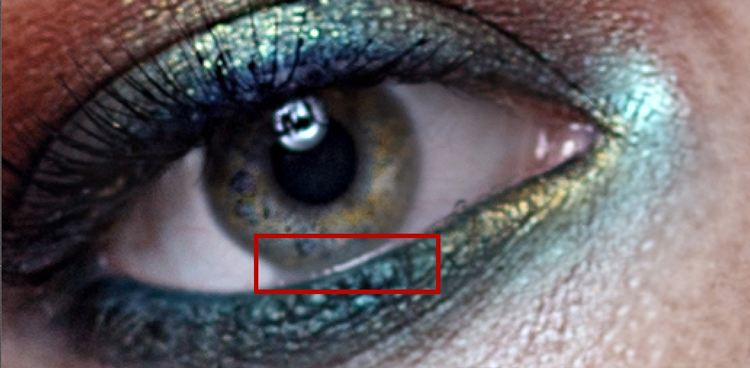
Non-standard part of this method includes drawing on that part of the white of the eye, which is below the iris. This part is so narrow that when you draw you will inevitably touch either a part of the iris or a part of the lower eyelid. Don't worry about touching other areas of the image when drawing, just paint all the fragments of the whites of the eyes. It is easier to remove the excess later than to do precise drawing witha very small brush. At least, you already have a layer mask, so you will require no more than five seconds to correct this drawback (as it will be shown in the next step).
Step 6
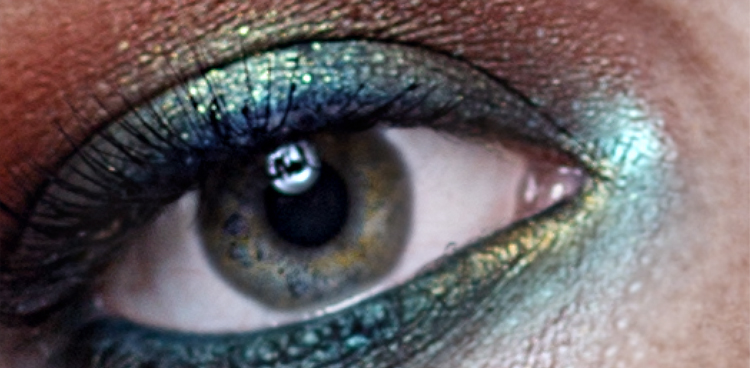
To remove extra brightening of the iris or of the eyelid, press <X> (the main color will be black) and do the drawing over those areas. There is nothing easier and faster. When you finish drawing, press <X> to swap the main and background colors, restoring white as the main color. Now you can continue filling the remaining part of the whites of the eyes.
Step 7
When drawing on the proteins in both eyes is finished they will look too white. This creates the effect of a strange and even abnormal gaze. Therefore, for the adjustment layer in most cases do not set the parameter value of Opacity to 100%.It is better to assess the degree of brightening the whites of the eyes, when reducing the scale of the image and the opacity to 50%. If the whites are still too bright, reduce the opacity a little bit more. The opacity slider becomes a slider of brightness. Adjust the brightness of the whites of the eyes so that they look natural but brighter than in the original image. Next, we will demonstrate an alternative way of lightening the whites of the eyes. It provides a greater degree of control over this process and allows to boost the brightness of the mid tones and/or light areas of the image.
Advice: brightening the entire eye socket
IF you need to completely lighten the area of the eye of the portrait photo you can use the blend mode Screen in a slightly different way. Press the key combination < Ctrl + J > (<Ctrl + J >) to duplicate the background layer of the image. Hold down < Alt > (< Option >), click Add Layer Mask at the bottom of the Layers panel to hide the brighter copy of the image with a mask of black. Set white as the main color, activate the Brush tool and choose medium size brush with soft edges with 100% opacity. Now paint the eye area and the surrounding region of the orbit. Reduce the opacity of the layer to such an extent so that the bleaching looks natural. If any fragment looks lighter than the others, change the main color to black and now paint the area of the image.
Step 8
In the alternative method we use settings of the adjustment layer Levels but do not change the Normal blending mode. Using this method, you can adjust the brightness of the whites of the eyes by adjusting mid and light tones in the image.
Step 9
Click on Create New Adjustment Layer at the bottom of the Layers panel to open the menu and select Levels. On the Adjustments panel, drag the limiter of the light colors (a white triangle below the histogram) to the left. If you want to make the whites of your eyes really bright, then drag to the left also a stopper of the mid tones (the central gray triangle). Now the whole image is really bright, and this brightness differ from the brightness that is generated when you select the Screen blending mode. (The choice of the "right" version of lightening the whites of the eyes depends on your preferences. If you tried an option with the Screen blending mode and you didn't like the result, you could try to apply a new Levels adjustment layer).
Step 10
Press the key combination < Ctrl +I > (<⌘ + I>) to invert the adjustment layer mask and hide the result of applying the Levels adjustment layer.
Step 11
Zoom in the image of one of the eyes and make sure that white is set as your main color. Press <On> to activate the Brush tool. Select a very small brush with soft edges from the brushes palette and paint the whites of the eyes. In fact, now you repeated the same steps that were described in the previous method. It includes drawing over the lower eyelid, and the subsequent removal of the excess overlay, as well as reducing the scale and opacity. So the rest part of the method is almost the same, except that you are working on the Levels adjustment layer.
Now you know two methods of brightening the whites of the eyes in portrait photos.
Video tutorial:
Method 2

