
Removal of the veins in the eyes
February 16, 2017 at 5:01:14 PM GMT+2Contents
This lesson is part of a larger section on enhancing eyes photos in Photoshop. For a more detailed study of photo retouching we recommend you to read the other articles on the topic:
- Contrast enhancement in the pupil
- Darkening the edges of the iris
- Add expressiveness to the eyes
- The creation of new and adjustment of existing glare
- Lightening the whites and the orbits of the eyes
- Remove the red veins in the eyes
- Change the color of the eyes
- Increase and decrease the size of the eye
- To replace one eye with another
- Retouch of the eyelashes
- Correction of the shape of the eyebrows
- The creation of thick eyebrows
- Darkening the eyebrows
- Sharpening the eyes
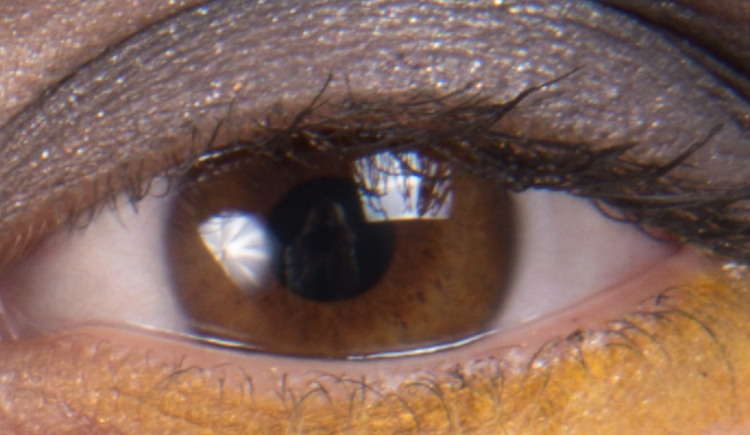
There are many ways to remove vessels and blood veins in the eyes in portrait photos. Removal using the Healing Brush tool or even the Clone Stamp tool for example. However, none of them can be compared with this simple method for rapid removal all the blood vessels out of the eye. It also allows you to hide the presence of contact lenses in the eyes of the photographed person.

Step 1
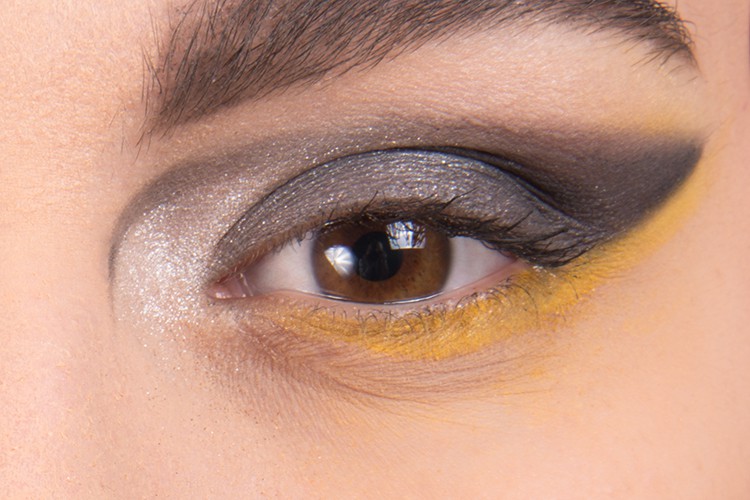
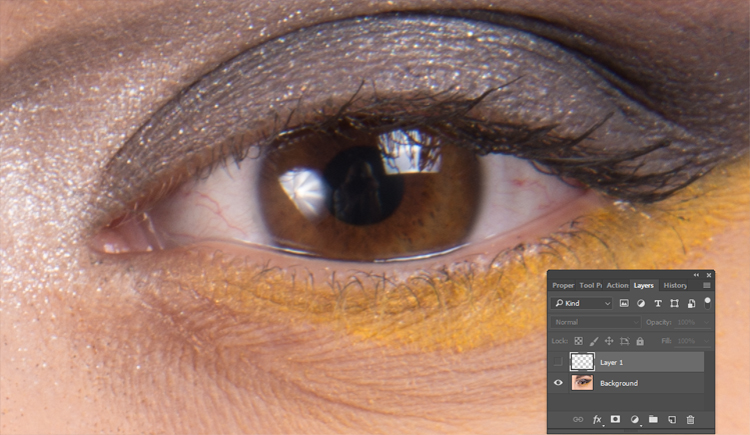
If you look closely at the original image which we are going to edit, you will see several blood veins in the right eye of the model that need to be removed. You need to zoom in to at least 100%. Activate the Zoom tool and zoom in the eye. Click on Create New Adjustment Layer at the bottom of the Layers panel to create a new empty layer.
Step 2
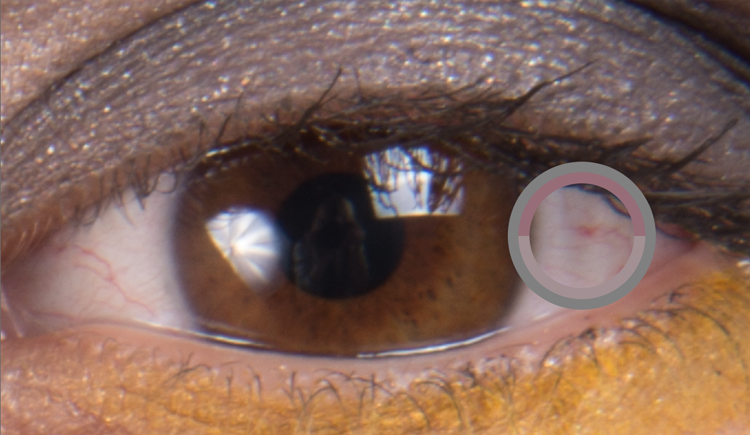
To remove the blood vessels in the image of the white of the eye we will use two tools - Brush and Eyedropper. Activate the Brush tool by pressing button <B>. If you hold down the key <Alt> (<Option>) you temporarily switch to work with the Eyedropper tool that allows you to select any color in the photograph as the main. Click near the fragment with the red vein you want to delete if you use the Eyedropper tool (as shown in the figure). After you click on it a great circumference will appear next to the pointer. The color of the inner ring corresponds to the selected image color, and the outer ring has a neutral grey color that helps you to evaluate your chosen color.
Step 3
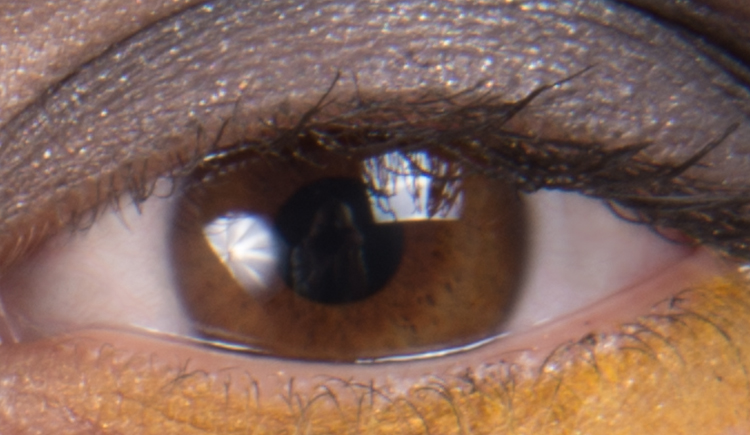
Do not clamp the key < Alt> (< Option >) any more to return using the Brush tool. In the options bar, set the brush Opacity parameter value (e.g. 20%), and select a small brush with the soft edges. The size of this brush has to exceed slightly the thickness of the removed vein. Make a few brush strokes over the red vein and after a few moments it will disappear! You can get a full control over the drawing process and make brush strokes at the same place for several times. Since the surface of the eye is spherical, the shade can different in the parts of the white of the eye. Change the swatch of the color to paint only those areas that are directly adjacent to the sample. This allows to keep the color in different parts of the eyeball the same.
Step 4
And the last one. To make the eyes look natural after editing you should add some noise to the retouching layer. In the Filter menu select Noise->Add Noise. Set the value (e.g. 1-2%) in the dialog box, select Uniform and check Monochromatic. Click OK to add texture to the edited fragment. Although the change is quite small the effect of it is highly visible.
Video tutorial: Removal of the veins in the eyes