Skin retouching
April 26, 2017 at 1:42:24 PM GMT+3Contents
Hint - to view an interested lesson, just click on its title
Retouching of skin is the second stage in a row and the most time consuming and complex process when editing a portrait photo. Smoothing of the skin in a photo is necessary in 99% of cases – at least minor edits, which occupies five minutes of the time up to 10 hours of long and painstaking work.
When retouching skin, you need: edit the entire shape and color, the pores of the skin, get rid of excess hairs and imperfections - while maintaining skin naturalness. Can it be done independently? It definitely can! In order to do this, you need to have sufficient free time, knowledge of Adobe Photoshop and a graphics tablet or just use our online photo editing services. For those who do not have such opportunity - we have prepared special lessons that allow you to quickly and easily learn how to retouch the skin. They are well suited for family snapshots and photos for the social network's profiles.
Tip: do not be discouraged if something does not work. Look carefully at the lesson, watch the video for the lesson, maybe you missed a step.
11 simple but effective methods of skin retouching
It is easy enough to master these techniques, as they don't take a lot of time (5 to 30 minutes on average) and do not need a tablet for their application. The techniques which you will learn in this chapter, preserve the natural structure of the skin, but the results are not up to professional.
Remember that the values used in the following lessons fit the pictures that we edited. Perhaps in your case, it is necessary to use other values – don't be afraid to experiment.
We also recommend you to read the articles:
Removal of blemishes and skin imperfections
Always start retouching of photos with blemishes and skin imperfections. It is necessary for the simple reason - it is possible that after removal of the blemishes the further retouching won’t be required at all. If further retouching is needed, then it will be much easier to do this when all the skin imperfections are removed.
Quick skin smoothing
It is a suitable method of photo retouching for the beginners and more experienced users of Photoshop, in case of urgent need to quickly retouch the skin preserving its texture.
Though we use blurring of the skin in this tutorial, don't worry, we will not “kill” the texture, and will apply the techniques to restore the natural skin texture after blurring. Just want to warn you – don't wait for the enthusiastic feedback from the retouchers, because they retouch the skin for a few hours and the technique described in this article falls far short of the results of long hours of manually retouching of the skin.
Skin smoothing preserving its texture
Use this method when you need to quickly and effectively smooth the skin without blurring.
The Creator of this method is a Brazilian Retoucher byRo, who is the moderator of a wonderful RetouchPRO.com forum.

Skin enhancing and adding texture
This is bulky but easy to learn and quick to use method of retouching skin. While retouching, we use the blur filter Surface Blur (usage of this filter requires a significant computational capacity of your PC) but at the same time, we will add maximum texture in the photo, to hide blurred areas.

Smoothing the skin using the color channels
This method is special because using the blur filter is at your discretion and is optional to implement. The author of this method is Corey Barker; he invented a method that allows you to blur the skin of the person in the photo, where the skin texture is used as a mask of the layer.
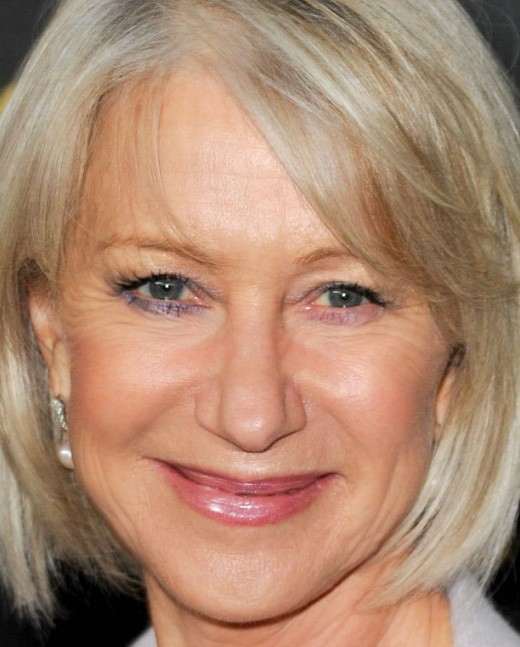
Remove or reduce wrinkles
All the above 5 methods are devoted exclusively to General retouching of skin, and this tutorial will allow you to rejuvenate a person for a dozen years. Wrinkles become deeper and longer over the time. If you remove them completely, the picture will look unnatural, so don't overdo it with this method. It is acceptable to completely remove the wrinkles of a young person, but for older people, it is better just to reduce them.

Removing flash glare
Even a small flare on the skin creates a horrible effect. They look like a person just got back from a jog in the sun and was sweaty. Usually, makeup artists and photographer are trying to resolve such effect when shooting, but the light from the flash may appear in some of the pictures. Fortunately, we can get rid of this glare by just a couple of mouse clicks and dramatically improve a photo.


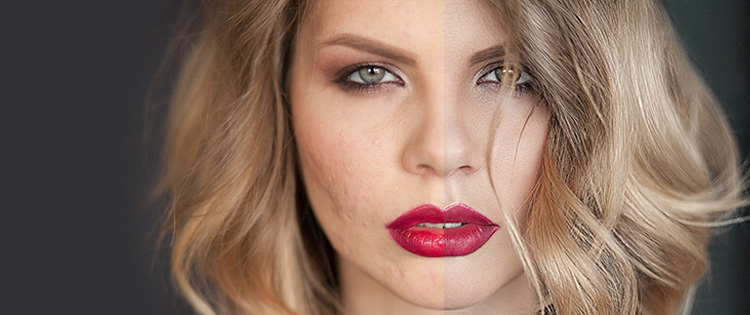
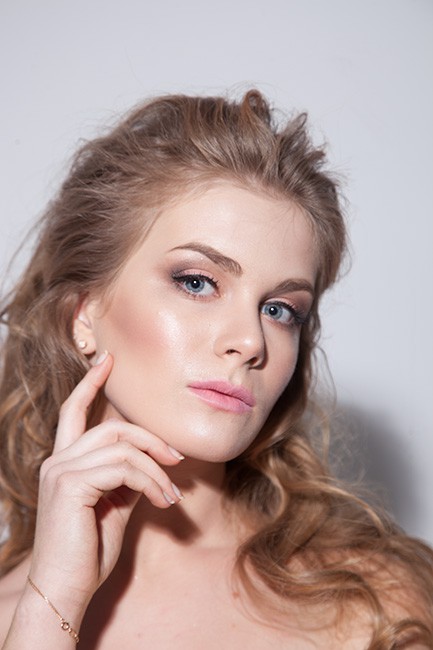
Skin tone harmonization
Apply this simple and quick method before proceeding to retouch the skin. If the model’s skin or its fragment (for example hands, wrists, chest, face and other places) is lighter or darker than other areas in the photo, it should be kept to one color. When you do, it will be much easier to further edit the image.
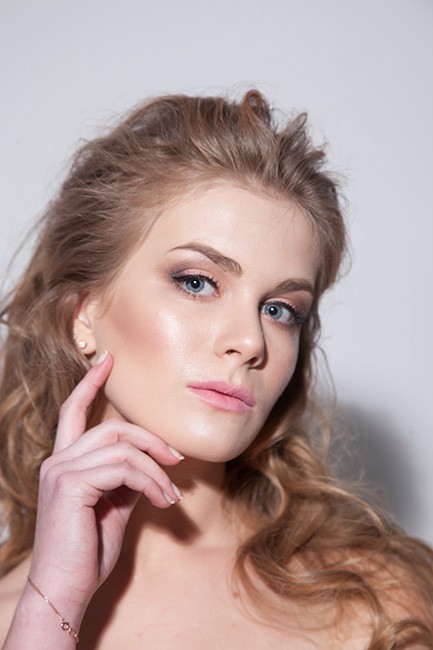
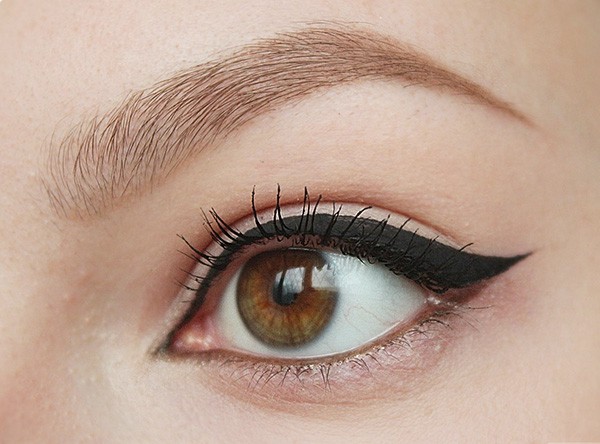
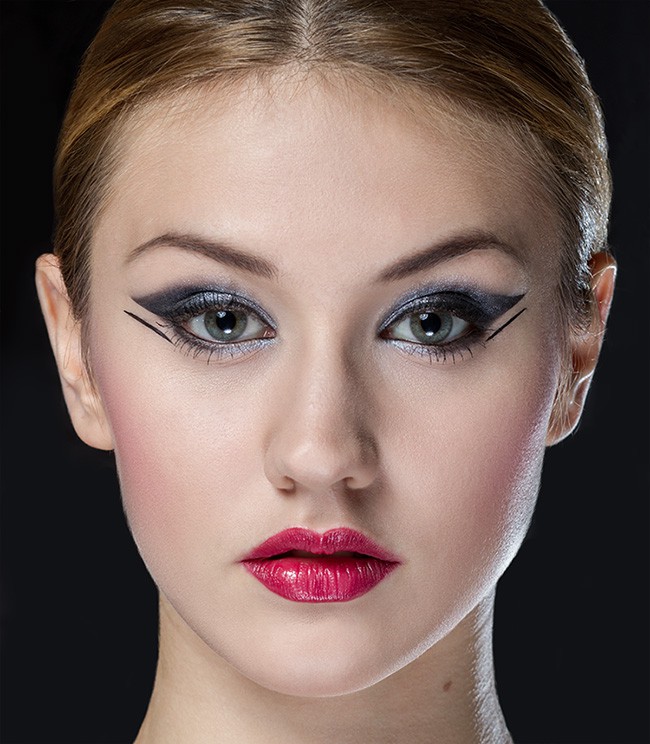
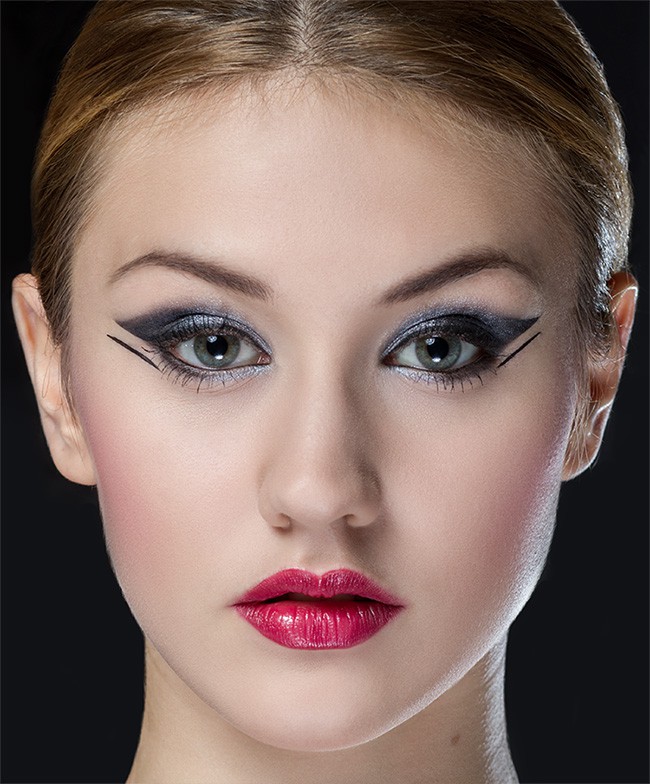
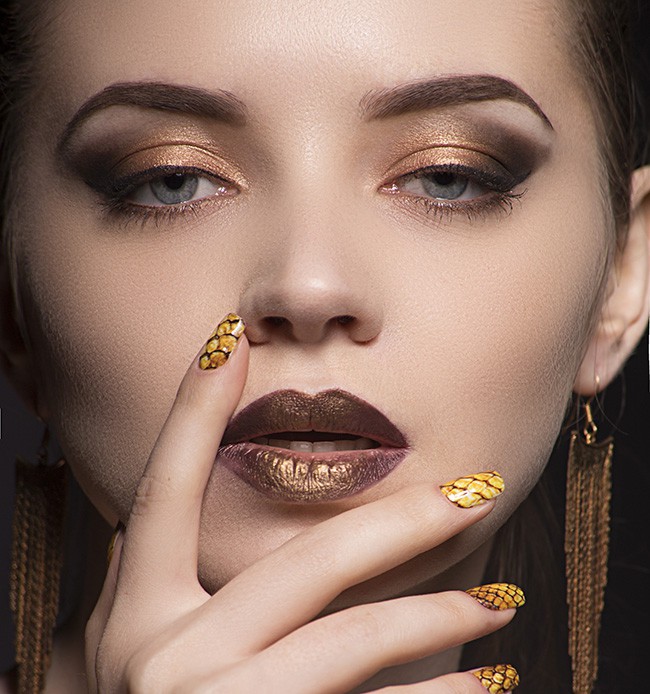
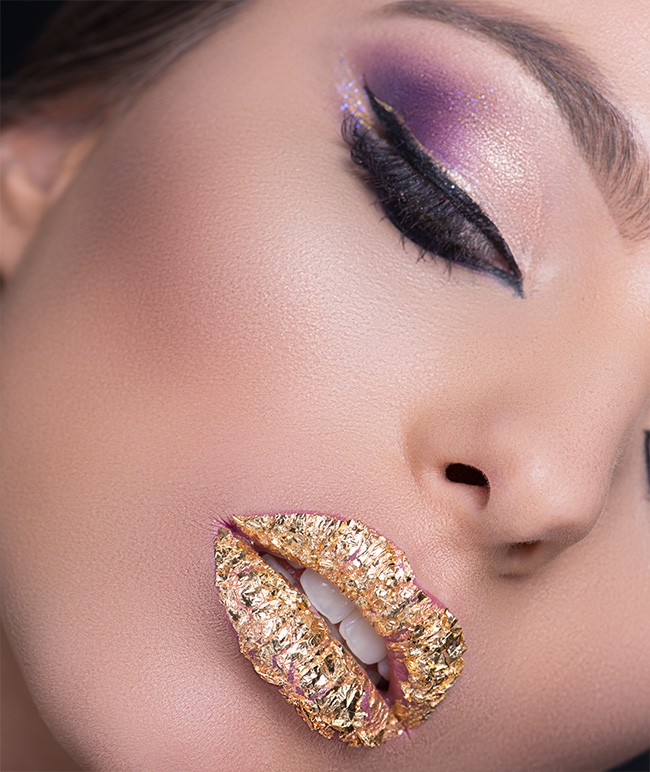
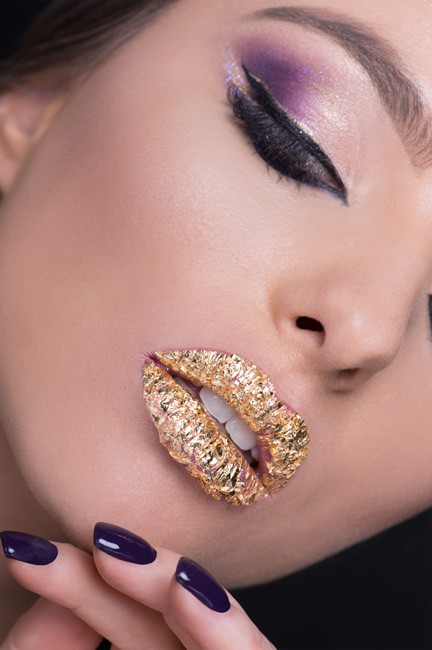
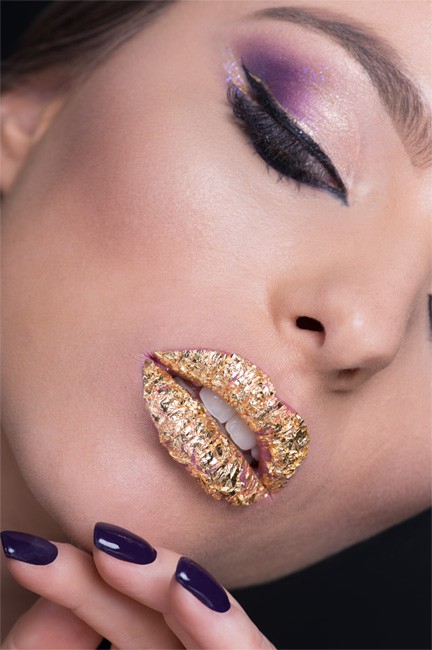
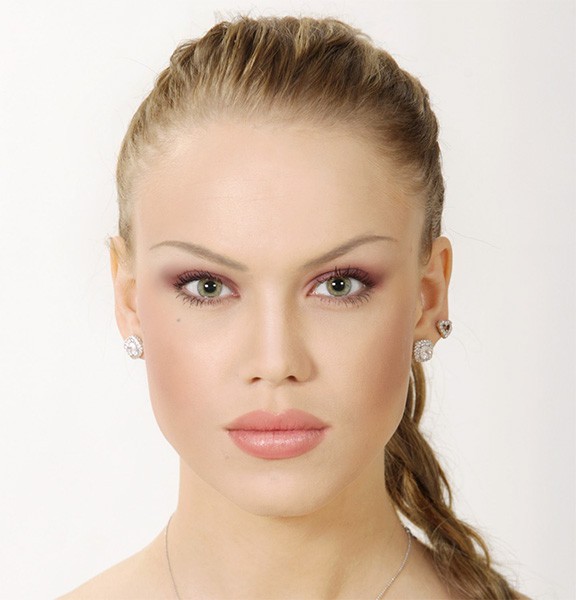
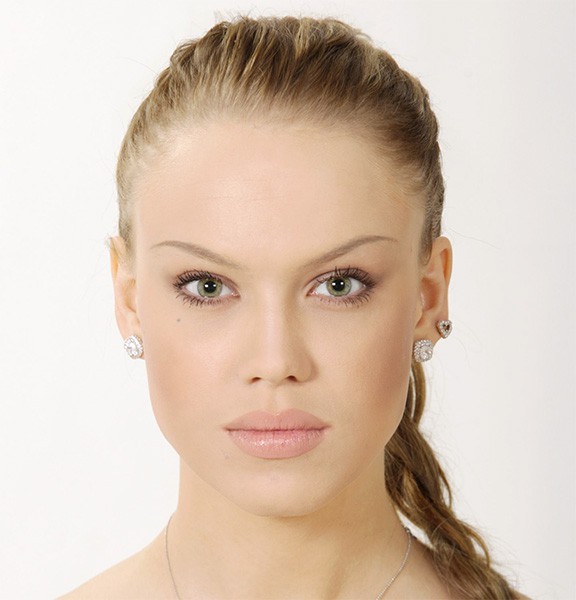
Makeup photo editing
During the processing of the portrait, it is necessary to correct or even to apply new makeup. It is great when a professional makeup artist does the makeup before shooting – this will greatly facilitate our work. But in order to be ready for everything, let’s consider the situation when you need to make the makeup from scratch. Because of this, the lesson turned out to be fairly lengthy, but hopefully interesting and useful.
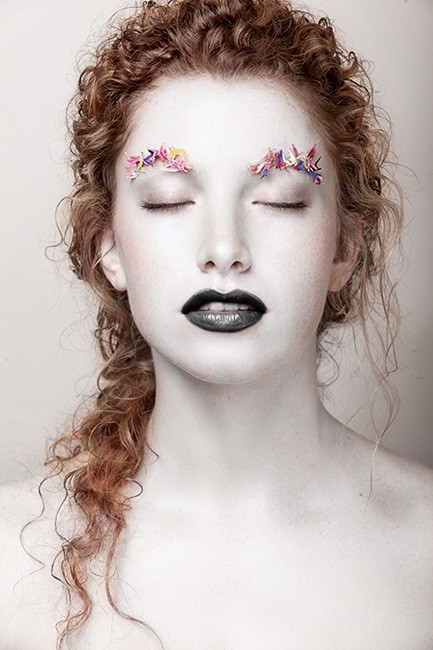
Creating a porcelain skin effect
It is an artistic effect that makes the skin of the model white, which is completely optional in portrait retouching. To create this effect, we remove the skin texture first, and then using color correction in Camera Raw we achieve the effect of white skin and black lips. The lesson was quite bulky, but if we didn’t know the method of skin removal of German Retoucher Calvin Hollywood, then we would have to use other more difficult methods.
Sharpening of portrait photos
This lesson is more suitable for retouching portraits of women because it is much easier to retouch photos of men. In the female portrait, sharpness should be added locally on specific areas, such as eyes, mouth, eyebrows, etc., avoiding the sharpening of the skin. In the case of the male portrait, clear skin texture looks good, but with the female, everything is more difficult. This tutorial consists of three different ways of adding sharpness: simple and fast first method, longer second method and the third method is through Camera Raw. Which one to use is up to you.