
Creating a porcelain skin effect
April 10, 2017 at 6:23:46 PM GMT+3Contents
This lesson is part of a larger section on retouching skin in Photoshop. For a more detailed study of photo retouching (unless you don't want to use online photo editing service) we recommend you to read the other articles on the topic:
- Removal of blemishes and skin imperfections
- Quick skin smoothing
- Skin smoothing preserving its texture
- Skin enhancing and adding texture
- Smoothing the skin using the color channels
- Remove or reduce wrinkles
- Removing flash glare
- Skin tone harmonization
- Makeup photo editing
- Creating a porcelain skin effect
- Sharpening of portrait photos
The implementation of this technique helps to make the skin of a model white. In addition, we completely remove the skin's natural texture (and perform some more transformations). This is a technique of a German Retoucher Calvin Hollywood, thanks to which the desired effect can be achieved with just two sliders by almost five seconds. Of course, in addition to these actions we have to perform a number of other transformations. But, at least, the effect of white skin you can now create extremely simple.
Step 1
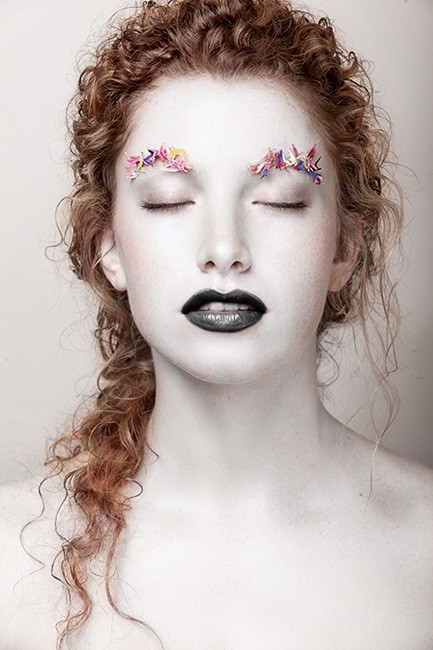
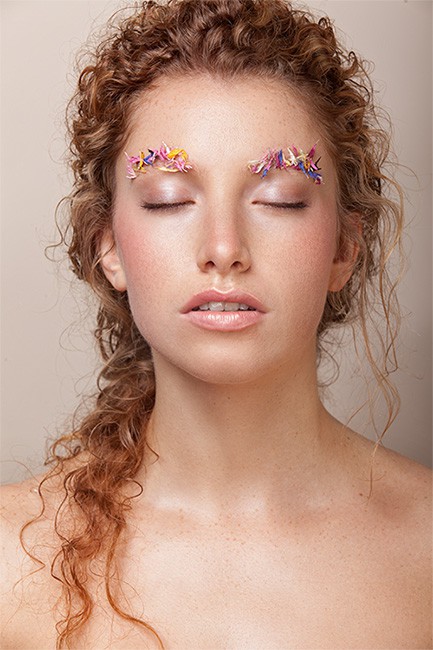
In this picture we will make the skin of the model look like it is made of porcelain. We start to retouch the image in Camera Raw in Photoshop or in the Develop module of Lightroom. The thing is that we need to configure the slider of the orange shades on the HSL tab, which has no equivalent in Photoshop. So open the image with the Camera Raw. (In Photoshop, since version CS5, you can open JPEG, TIFF and PSD in this module.) Locate the image in Bridge, click the right mouse button and select Open with Camera Raw in the menu.
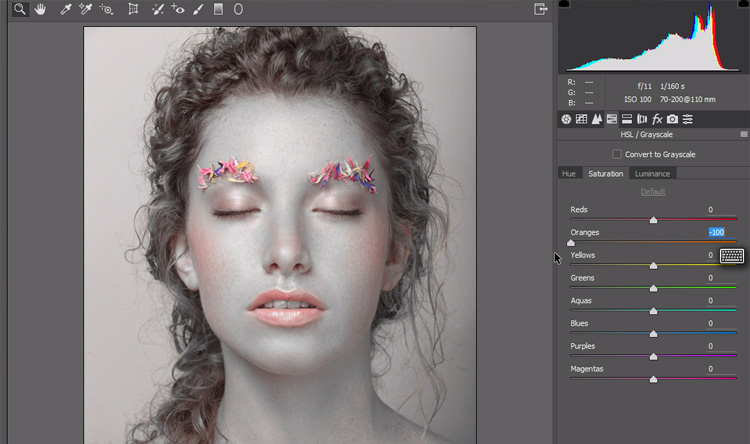
On the HSL/Grayscale Panel (HSL/grayscale) click on the Saturation tab, or scroll to the HSL/Color/B&W panel. Drag the Oranges slider to the end left position. For some images you do not need to drag this slider all the way, but in this case we need this value of the parameter. Now the skin looks grey and not white, but we will fix this in the next step. The main thing in this method is that we fully maintain the color of the lips and eyes, which are very important for further retouching of the image.
Step 2
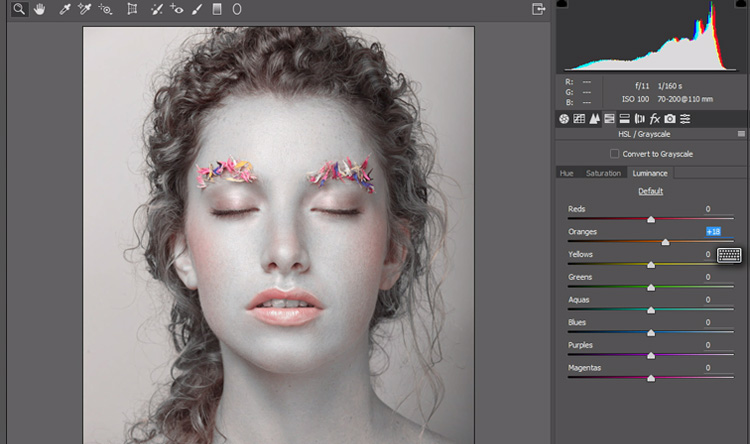
Go to the Luminance tab and drag the Oranges slider to the right (as shown in the figure, where we dragged the slider to the level of + 18), and the skin becomes white. If you look closely at the picture, you will notice that some fragments (top part of the ears, neck and hands) preserved the shade of red. So to edit this photo, you need to perform some additional actions, which may not be necessary when editing other photos. We need to get rid of red tones on the model’s skin. Our secret is that we open the image as a smart object in Photoshop and that allows us to return to work in Camera Raw by double-clicking on the layer thumbnail at any time. Press and hold down < Shift >. At the same time the Open Image button turns into the Open Object button. Click on this button, and the edited image will be opened with Photoshop as a smart object.
Step 3
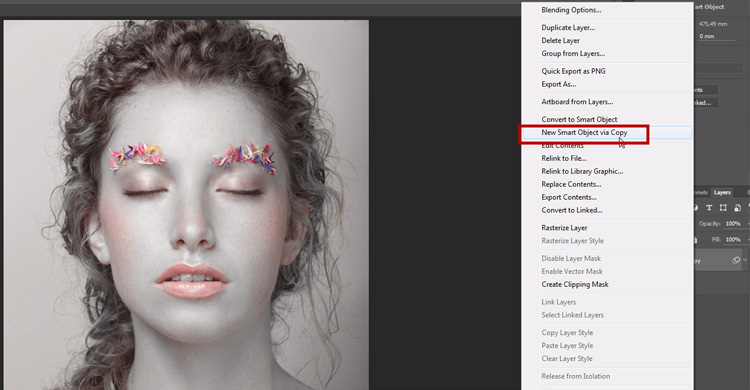
So the picture is opened with Photoshop as a smart object. You need to create a copy of this layer in order to subsequently return to working in Camera Raw and to remove the red shades in HSL/ Grayscale tab, leaving the original smart object layer in Photoshop without any changes. When working with smart objects there is one unusual feature: when duplicating the smart object layer, the new layer is linked to the previous. All changes made on one layer are automatically displayed on the second layer. We need to break this connection, to edit two smart objects separately. This is the advantage of working with this program element. To copy the smart object layer and at the same time to unlink the copied layer with the original, make the right-click on the smart object layer to open the menu and select New Smart Object via Copy, as shown in the figure.
Step 4
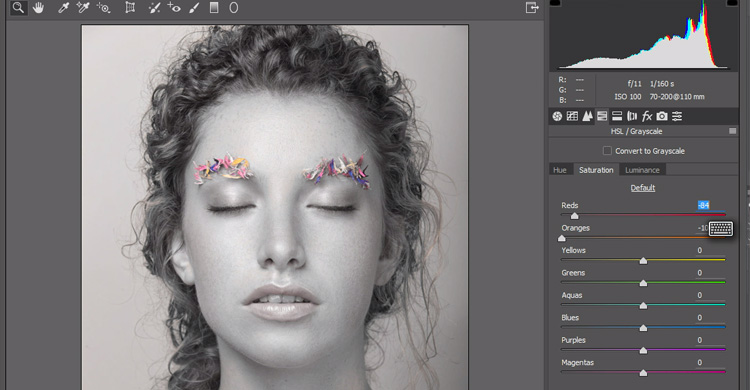
Тow you can edit a copy of the smart object layer separately. Double-click on the thumbnail of this layer, and the image reopens with Camera Raw. Open the HSL/Grayscale panel and in the Saturation tab, drag the Reds slider to the left to get rid of the red hue under the eyes, at the top of the ears and other model’s skin areas (as shown in the figure, where we dragged the slider to the level of -84). Click OK to apply the changes to only one layer of the smart object.
Step 5
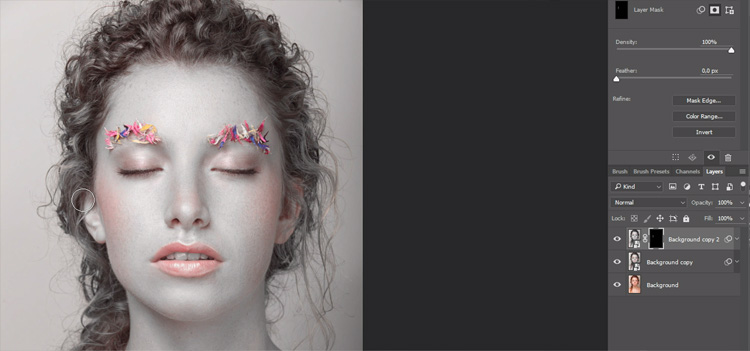
Hold down < Alt > (< Option >), click on the Add Layer Mask icon, which is available at the bottom of the Layers panel. This allows you to hide an entire top layer over the black mask. Press <D> to set white as the dominant color. Use the Brush tool. With a small brush with soft edges paint the reddish areas of skin to discolor them as shown in the figure.
Step 6
Duplicate the background layer of the image once again to separately edit this copy and restore the original colors of the image. Then right-click on the smart object layer to open the menu and select New Smart Object via Copy. Drag the created layer to the top of the Layers panel to make it top in the list of layers.
Hide the editable layer using the black mask and now paint only the piece of the hair image with the white color to restore the original color of the image. While drawing change the brush size to paint all the pieces of the hair image.

Advice
It is not required to draw the hair pattern too precise, because the color saturation of the image fragment can be reduced and it won’t look so dramatically different. In the Layers panel reduce the opacity for the top layer so that the hair color does not stand out from the overall composition, but it still retain its original shade.
Step 7
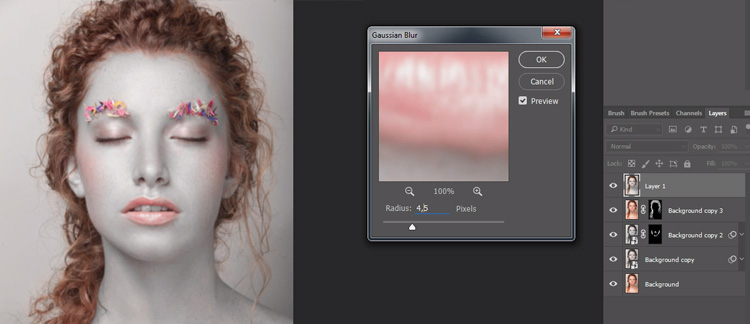
Now you can create a new layer over all layers, which is a version of all the created layers of the image merged together. To do this, use the key combination < Ctrl + Alt + Shift + E > (<⌘ +Option + Shift + E>). Now we do a thing that is radically different from anything that was described earlier. All this time in the editing process we were worried about how to preserve the natural skin texture. And now will try to completely remove it. For this you can just blur the image (methods described previously) and use the Healing Brush tool to gently remove all the pores, or use any other destructive way to make the skin of the model as smooth as the porcelain.
Step 8
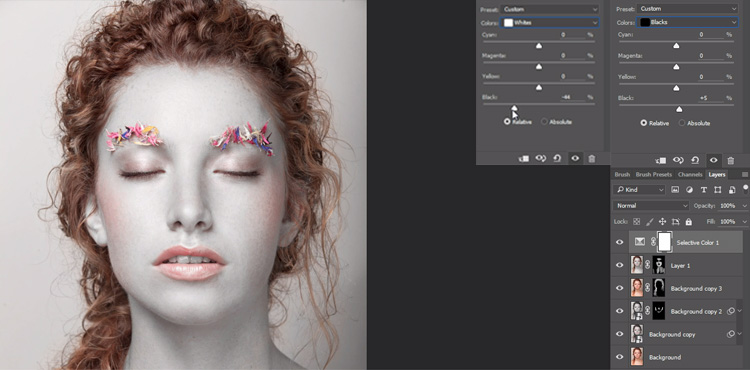
To make the skin even whiter, at the bottom of the Layers panel click on the Create New Adjustment Layer and select Selective Color command. Select Whites from the drop-down list of Colors in the Adjustments Panel. After that, drag the Black slider to the left to get a very white skin.
Tip: make your lips really red
To give the lips a rich red hue, you can create the Selective Color adjustment layer, select Blacks in the drop-down list of Colors and drag the Black slider to the right. This helps to enhance the red hue of the lips.
Step 9
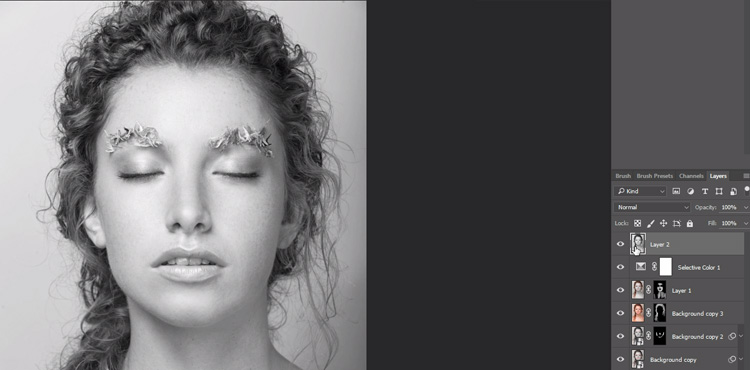
We have to change the color of the model’s lips to almost black with a silver sheen, which better matches the entire composition (at least with the composition of this image). Create another merged layer over all the layers, discolor it using the key combination < Ctrl + Shift + U > (<⌘ + Shift + U >). This removes the color from the image, but does not help us to make the model's lips silver-black. This effect we will achieve later.
Step 10
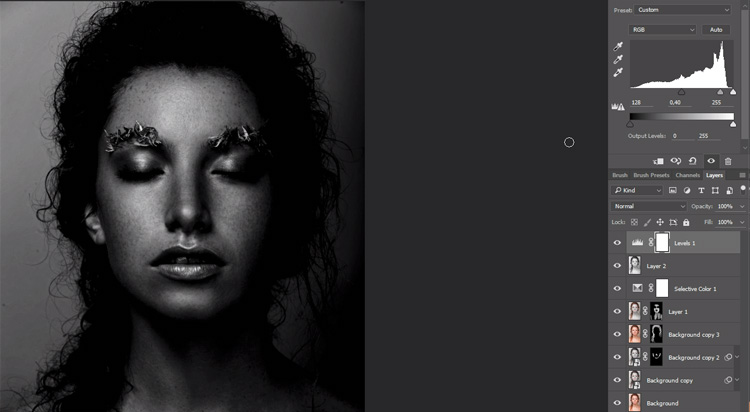
A very simple method helps us to make the lips darker. In the Create New Adjustment Layer drop-down menu of the Layers panel, select Levels and when the parameters of this function appear in the Adjustments panel, drag the black restrictor of the Input Levels parameter to the right directly under the histogram. This will make the dark shades of the image even darker. Now drag the gray restrictor of the Input Levels parameter to the right. These actions ruin our image, but in this case we are only interested in the lips, which look very good. Press the key combination <Ctrl + E> (<⌘+ E) to merge the Levels function adjustment layer with the discolored layer, which is located underneath. The appearance of the image does not change, but the top two layers now are combined into a single layer.
Step 11
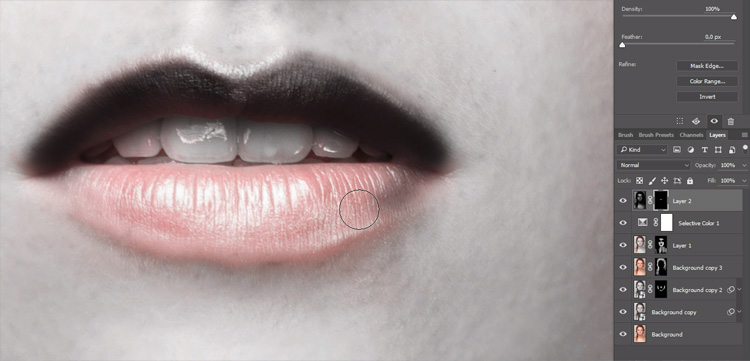
Hold down < Alt > (< Option >), click on the Add Layer Mask icon, which is available at the bottom of the Layers panel to hide the entire top layer with the black mask. Press <D> to choose white as the dominant color. Activate the Brush tool, select a small brush with soft edges and carefully sketch the image of the lips to make them darker (as shown in the picture).
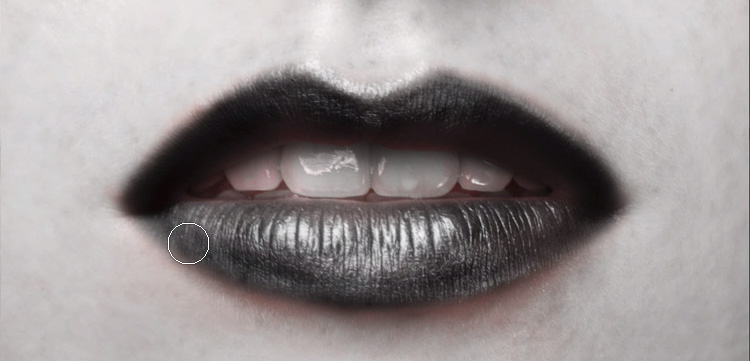
Step 12
Since the edges of the lips still have quite a lot of red lipstick, reduce the opacity of the brush and gently paint these circuits on the mask to cover all the red bits. As the rest of the around skin is white, you don't need to take make the brush strokes perfectly accurate. Just try to sketch the red bits carefully, so they are not visible on the white background.
Video tutorial