Free Lightroom Presets
July 31, 2018 at 3:11:56 PM GMT+3Contents
Top 2018 Lightroom presets
We present you a collection of free presets, which are useful for processing photos of any genre. We selected presets for quick editing of portraits and landscape photos in cold and warm colors, in black and white or bright shades. All plugins are tested and function perfectly. Use them and achieve excellent results!
12 Lightroom presets by Fujifilm
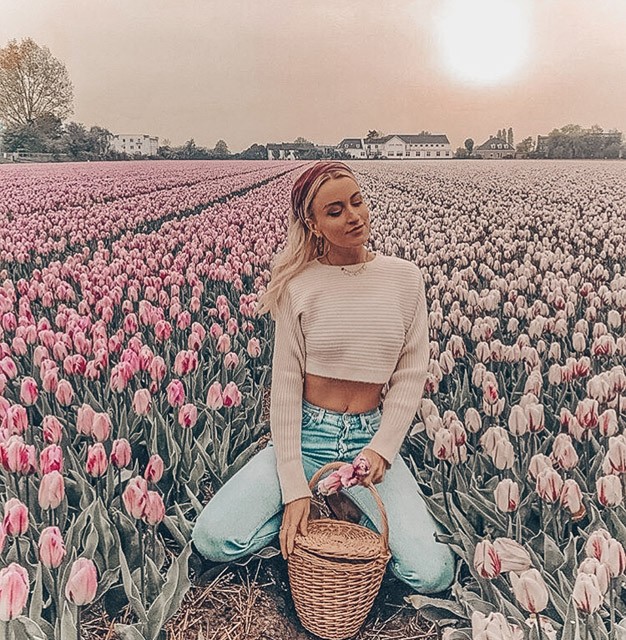
Collection of stylish modern presets
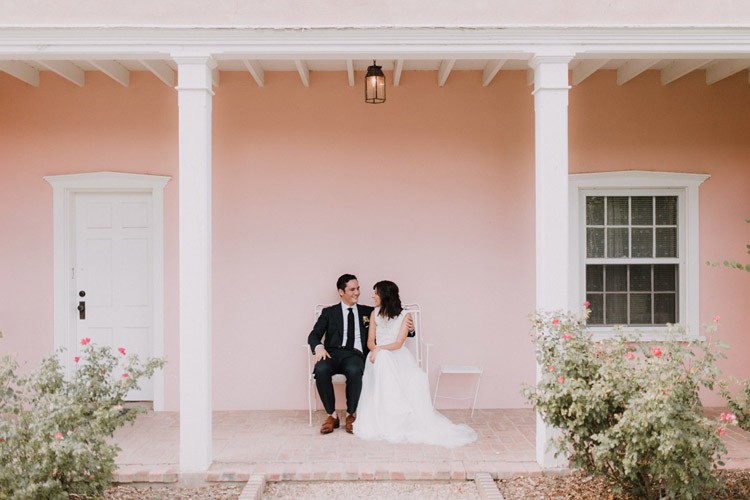
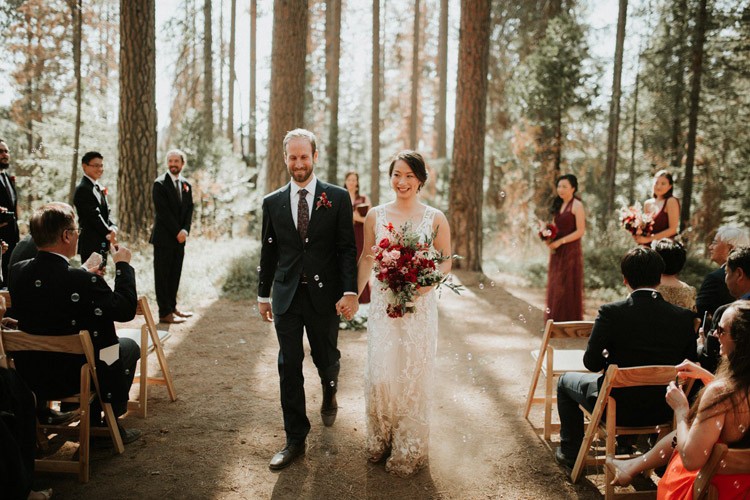
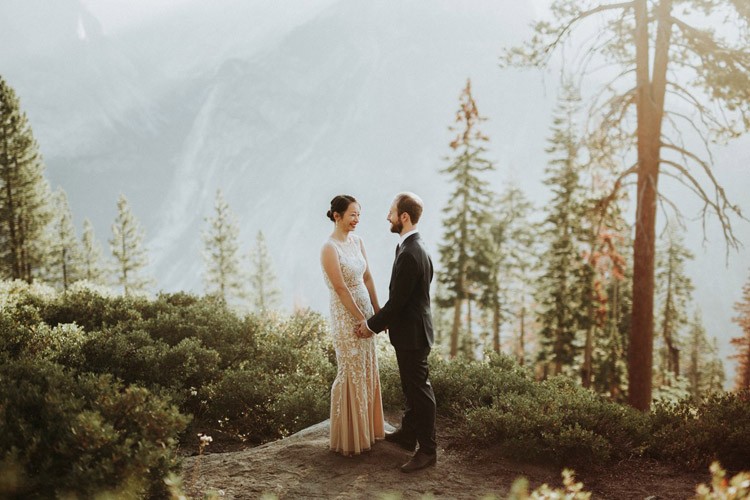
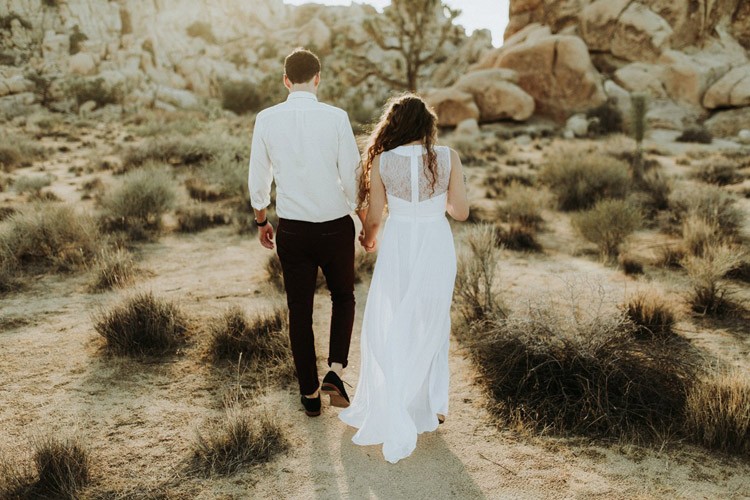
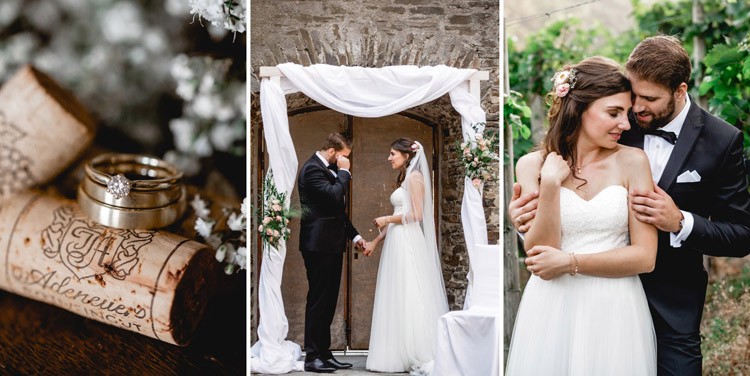
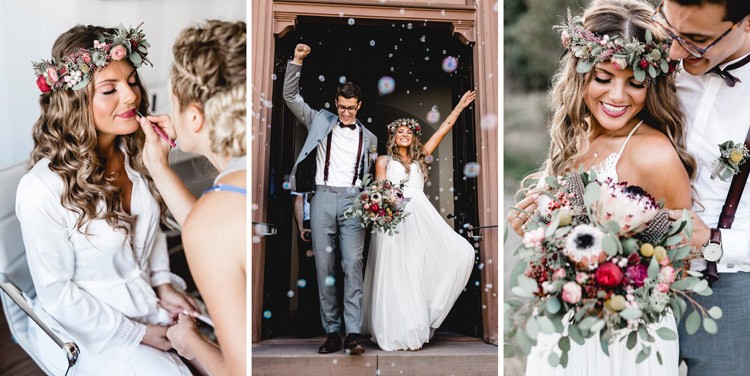
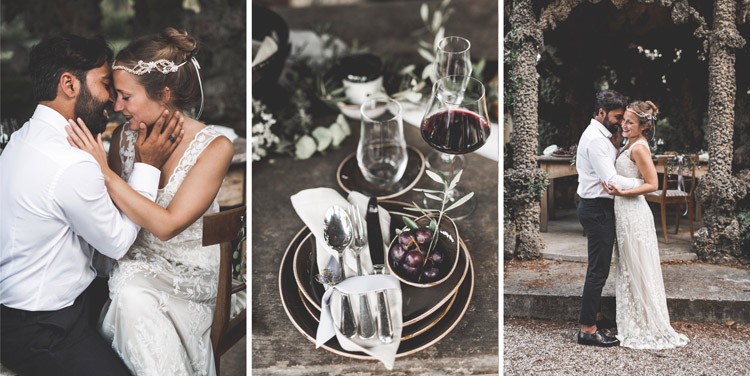
Wedding presets collection
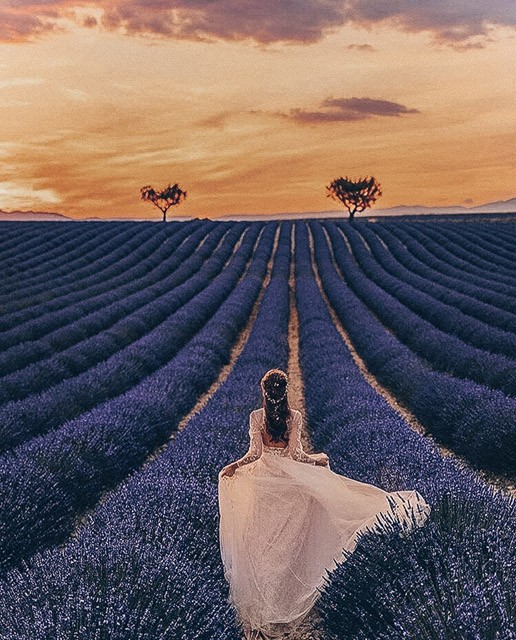
Presets for landscape photos
Grace body presets
Chocolate
Sunlight
All digital photos need to be edited: from elementary color correction to deep retouching. Therefore, to obtain perfect shots you need two tools: a high-quality camera and a professional photo editor. Many experts at photo retouching services use Lightroom - a modern multifunctional software, in which you can:
- Sort photos easily;
- Convert pictures to the desired format;
- Make editing;
- Perform instantaneous bulk processing of images using presets.
Today we are going to talk about the presets. What are they? These are plugins, with which you can edit and create unique images in a couple of clicks. This is especially convenient when it is not a single picture, but a few dozen of them.
Lightroom Presets are a great solution both for beginner photographers and professionals. They are easy to use, and the choice of processing options is extremely wide. Now presets are created also by the famous photo editing studios. You can find a good selection of paid plug-ins, as well as packages of free Lightroom presets.
What are the presets, how to create and how to manage them, what are their advantages? Can they replace professional "manual" photo processing? We answer all these questions in this article.
Lightroom presets manegment
How to create a Lightroom preset?
You can download and install ready-made sets of presets for instant photo processing. But if you do not want to search for a plug-in with suitable parameters (or pay for its purchase), you can create your own preset. To do this, it is enough to set the settings once, and then save all the operations in the program.
Here are the details. Go to Presets and click on the image with a plus sign.
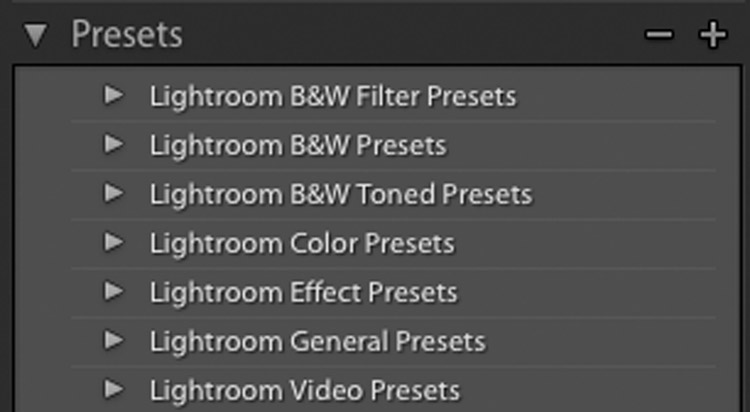
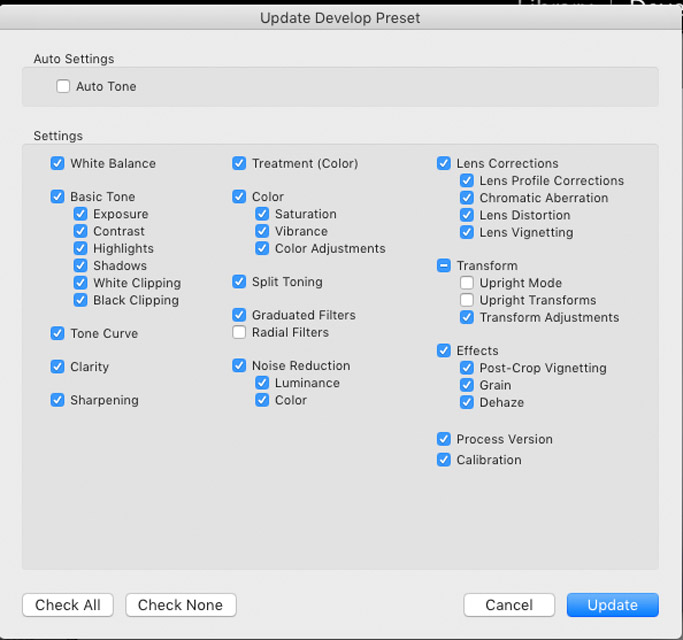
Create a new folder and name it as you want. Press Create. A dialog box where you can set the options opens. Save this plugin and you will be able to apply it to any other images in future.
Adding a preset to Lightroom
If you decide not to create a preset, and purchase it or download a free version, you can use the plug-in only after adding it to Lightroom. The procedure is as follows:
- Download the preset you need.
- Unzip the archive into any folder you like.
- Highlight the preset and press Ctrl + C (or choose "Copy" from the context menu).
- Go to the add-on folder for Lightroom. It is called Modules and can be stored in your documents (if it is a Windows OS) or in any other place that you defined when installing the editor.
- Copy the files to the specified folder with the presets. Remember - you only need to copy plug-ins, any program does not recognize any auxiliary files.
- If Lightroom was open - restart it. After that, new presets will be available.
Opening Lightroom presets
How to use installed or created plug-ins? First you need to find out where they are located. After installing the presets, you should find the working module Develop. Find the folder Presets, select it and right click. In the list that opens after that, select Import. After that, the file with the preset that you created or installed opens. Now you can use it to process photos.
Application of plugins
The purpose of the preset for Lightroom is to simplify photo processing. A complex of previously saved settings can be used for one shot, and for a large bulk of images.
To use plug-ins, you need to be in the Develop area. Look at the left side of the screen: the Presets tab is in the list of functions. You need to select a suitable preset (if you have more than one) and click it with the left mouse button. Settings will be applied to selected photos instantly.
Saving a Lightroom preset
If you create your own presets in the photo editor, they will be automatically saved immediately after you click Create. All the settings you made are stored in a folder with previously installed and created presets. If you add plug-ins by copying to a folder (see above) or directly through the photo editor, pay attention to the file extensions and the lack of damage in them. Otherwise, you will not be able to use the presets.
Removing Lightroom presets
If you often process photos, over time, you will accumulate a lot of plug-ins. Moreover, some will be absolutely unnecessary and will only interfere. There can be many reasons - for example, the stylistics of image processing changed. Or you improved your skills and understood that your first plugins were too primitive. Well, all unnecessary can be removed.
There are two ways to do this:
- Working in the Develop tab, look at the presets panel. Select unnecessary, right-click on it and click Delete.
- If you know where the folder in which all your plug-ins for Lightroom are stored is located - go into it and delete unnecessary presets directly. Do you want to know the path to this folder? Go to the Edit tab and select Catalog Settings. You can see the full path to the folder, as well as the Show button for instantly navigating to these files.
Can I transfer Lightroom presets to another computer?
If you change the computer, install a new hard disk or update the operating system, obviously you want to save all the settings of the programs – including Lightroom. This is totally doable. The photo editor provides an opportunity to transfer all the source images, catalog and plug-ins with saving all the settings.
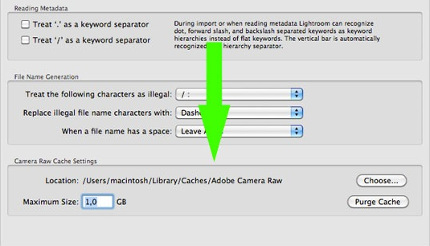
The inbuilt presets cannot be transferred - once you install Lightroom, they will also be installed automatically. But those presets that you created or downloaded, you need to transfer. The process is simple: copy them from the folder where they are stored (how to search for the folder is described above) to any external media. Once you install Lightroom - transfer the files to a similar folder. That's it - you can use all the settings without problems.
5 advantages of using Lightroom presets
Making a successful shot is only half the battle. The photo needs to be processed - only after that it becomes a masterpiece. If you are not a master in professional retouching, any attempts to improve the picture will only spoil your mood. You will be rescued by Lightroom and its plug-ins - do not worry, the program will be able to do a lot for you. You will enjoy the result. We offer you 7 really important reasons for using presets and retouching photos in one click.
Save your time
With the help of presets in plug-ins, photo processing takes a couple of seconds: indeed, it is enough to click the mouse to fully edit the picture or perform up to 90% of tasks. The remaining 10% will not take much time and your efforts - after all, it will be a question of fine tuning. And no annoying routine!
Everything is very simple
You can study the processing of photos in Photoshop forever. This is a complex and long process. To reach a professional level sufficient for good retouching, it will take several months of practice (or better - several years). What to say: you have to learn how to work in editors. And while you are studying - entrust retouching to presets, because they can do it all for you. It cannot be easier.
Wide range of options
What would you like? Make the colors brighter or display everything in rich black and white tones? Do you need to artificially age the picture or create an interesting color accent? Lightroom Presets does not limit your creative plans: modern collections of plug-ins include hundreds and thousands of processing options.
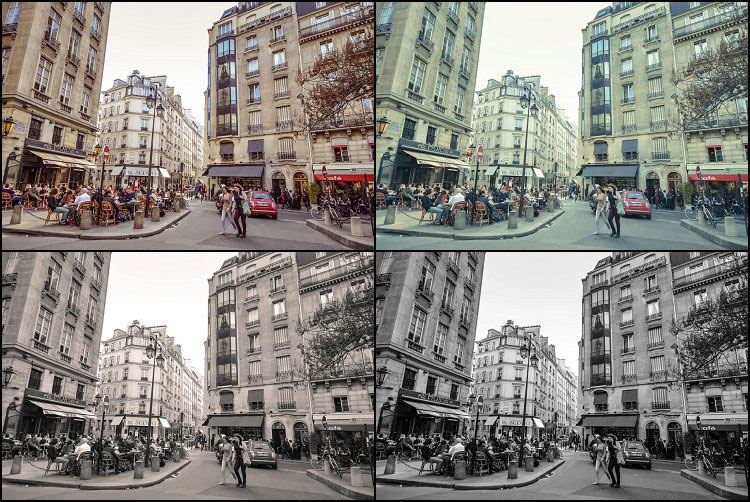
You can safely experiment: use different presets and see how the photos change. Choose appropriate settings for one photo or for all the footage. By the way, you can experiment and save a lot of time: to see the preliminary result, just move the mouse cursor over the preset (but do not click). Lightroom will pre-show you how the photo will look if you select this plugin. This is very convenient: the result is visible, but there is no risk that the original settings of the picture will be lost.
Bulk editing
Just imagine: you need to process a photo session of 1000 shots and as a result achieve that they are the same color tone and look as a whole. To do this manually - especially if you are a beginner – it is quite difficult. You can apply different settings; as a result, the photos will be visually different. Presets help to solve this issue - they evenly process any number of photos, and you will have to make fine adjustments only, and sometimes, you can do without them at all. Everything depends on the initial pictures and your creative wishes.
Presets can be tuned!
Is it difficult for you to find the perfect preset? It does not matter: find the plug-in that is almost suitable for your purposes and configure it. Any preset can be adjusted to achieve the desired processing option. There is nothing complicated, and it does not even make sense to describe the ways of configuration: you will intuitively guess how to do it. Thanks to this, you can even configure the presets that you used before, and which you seem now to be obsolete or primitive.
Lightroom mobile: professional photo processing for Instagram and not only
Lightroom Presets can be used in the mobile version of this photo editor. Make sure that you have installed the Lightroom application version 3.3.0 and higher and do not forget to register with Adobe (or log in if you already have an ID). And see what happens now.
If you have already used the desktop Lightroom, the synchronization will start immediately after the login - and all your presets (including those purchased) will be automatically installed to the mobile version. So, opening a mobile version of the photo editor, you will have all the usual tools for quick editing, as well as recently added photos. Isn’t it magical? Just get ready for synchronization to take a few minutes.
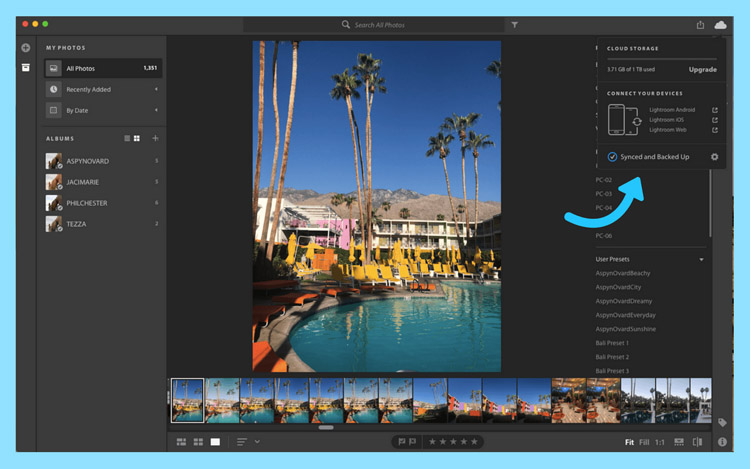
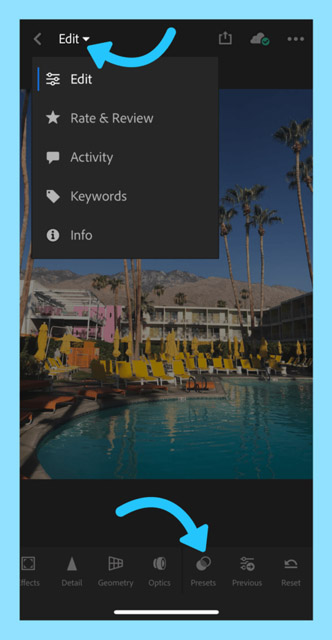
And here is a short tutorial on processing photos using the mobile version of Lightroom with the help of presets:
- Go to the photo library and select the photo you want to edit. Once you have made your choice, open the menu and click "Edit", and then find the "Preset" button in the bottom menu. It opens a list of available presets.
- Now everything is simple - choose a preset and click it. You do not like the result? Click the "Cancel" arrow at the top of the screen, return to the original version of the snapshot and select a new preset. All the settings of the original photo will be saved and will not go down.
- Did you like the preset? Click on the "✓" icon to apply it.
- Have you changed your mind and want to exit the menu of presets? It's enough just to press "X".
- You like the preset, but want to change its settings a little? At the bottom of the screen there is a list of parameters that can be changed. For example, pressing "Light", you can adjust the contrast, exposure and so on.
- It remains to save the processed image. To do this, click "Export".
That’s all - now you can post your perfectly edited photo anywhere. Let people admire and think that a professional retoucher has worked on it.
Lightroom Presets – they are cool, but they cannot replace the retoucher
Apply presets and get the effect of professional editing - what could be better? But the fact is that not always presets allow you to achieve the desired effect. The thing is that automated processing does not take into account the unique features of your images. It may be that the presets make the photo only worse or incorrectly change some of its elements. And the search for a suitable plug-in can take so long that it will be easier to process the image manually.
Therefore, if:
- You need a deep retouch;
- The characteristics of the photo do not allow you to apply automated settings to it;
- You need solutions that require manual work (for example, lip augmentation, hair change),
it is better to use the services of professional retouching. Remember - not all presets handle photos equally well. Even excellent and paid plug-ins can be useless specifically for your photos. So do not expect that all your photos can be beautifully edited using automatic presets. While the artificial intelligence did not break free, no preset can compete as a professional photo retouching.
It is needed to mention - free presets - that's where all the universal evil has accumulated. But seriously, it is very rarely when there are really interesting options of plug-ins in free collections. The fact is that many presets for free download are created by non-professionals. So do not be surprised if after such "processing" the picture becomes filled with screaming hues or some lines become blurry. We warned you.
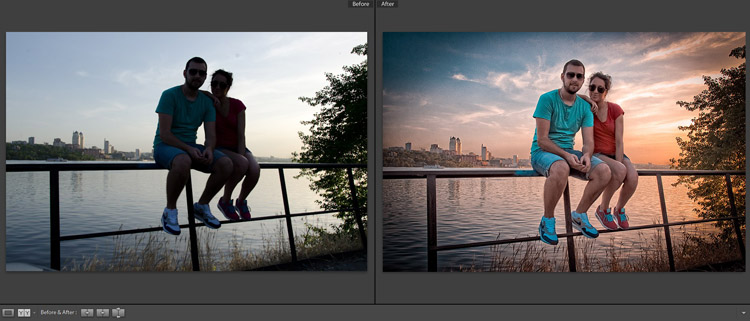
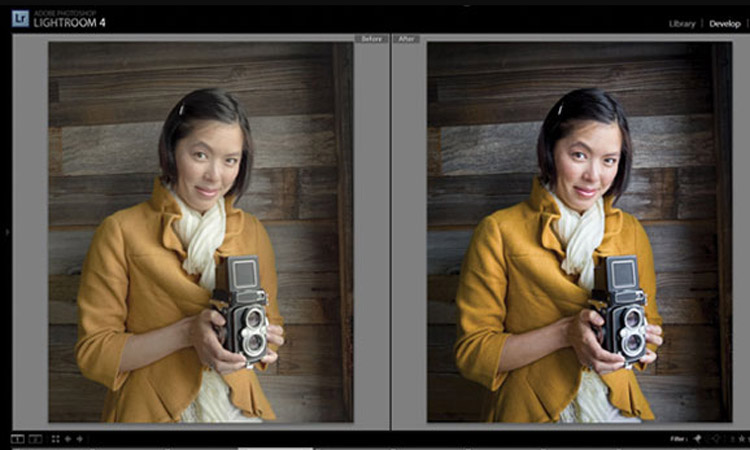
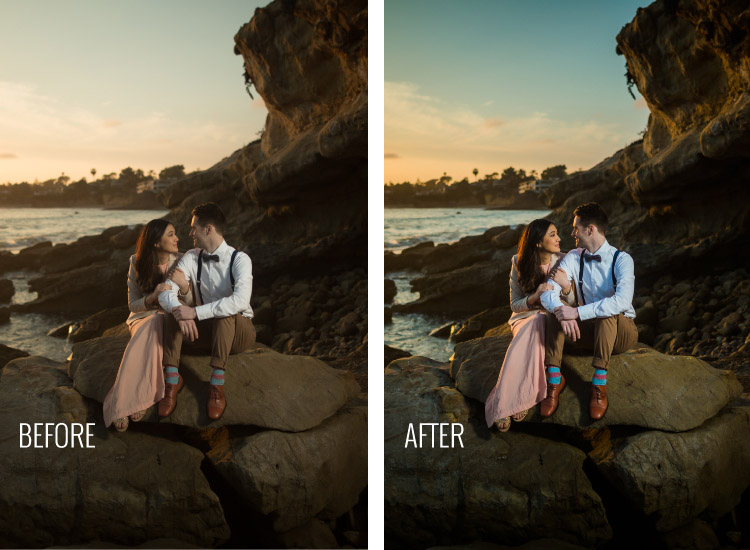
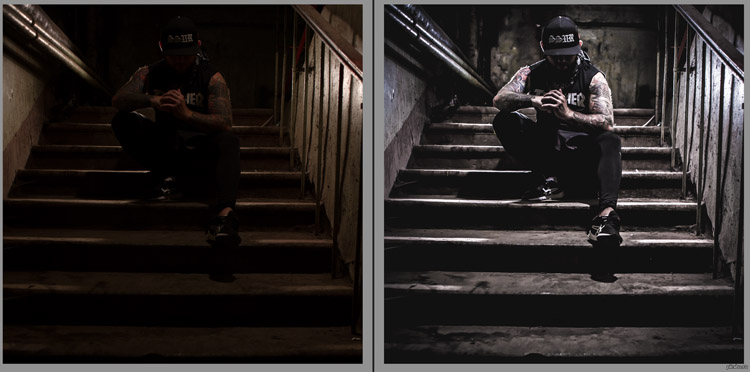
Examples of photo editing using Lightroom presets
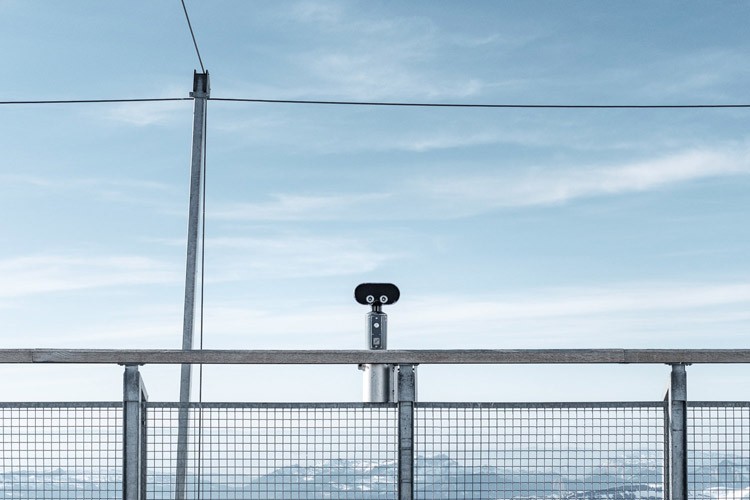
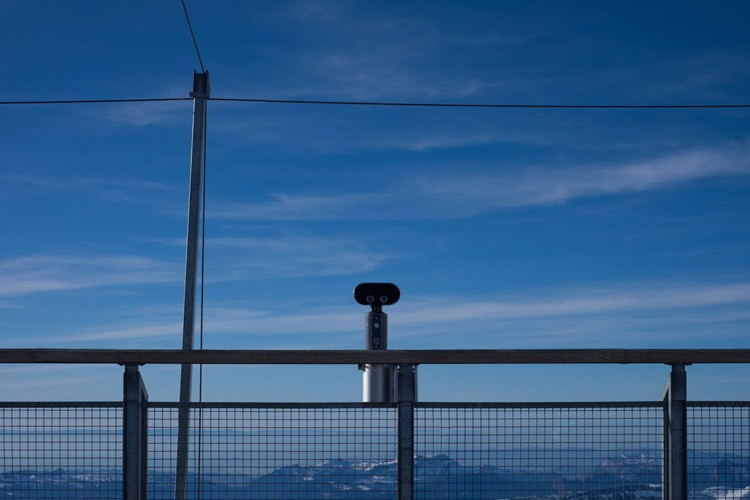
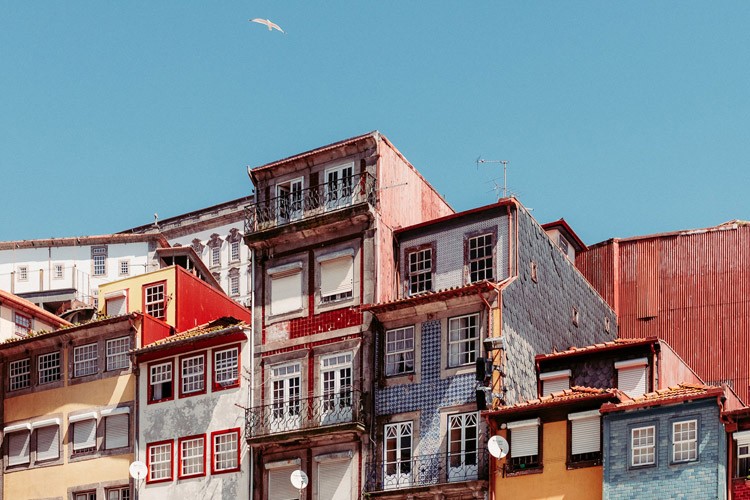
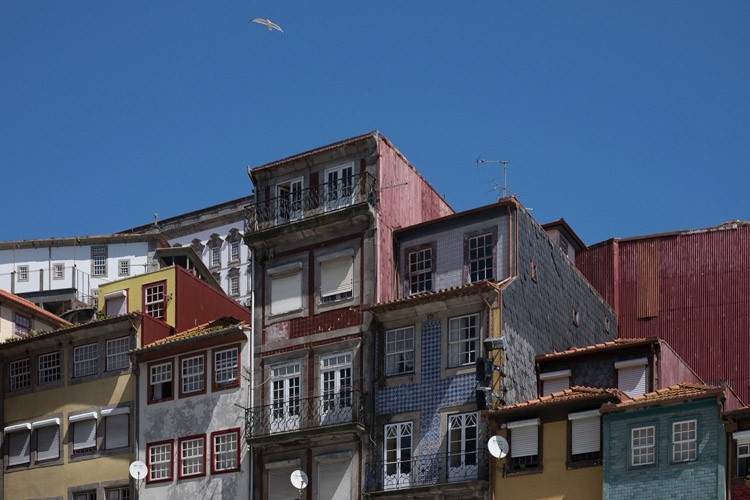
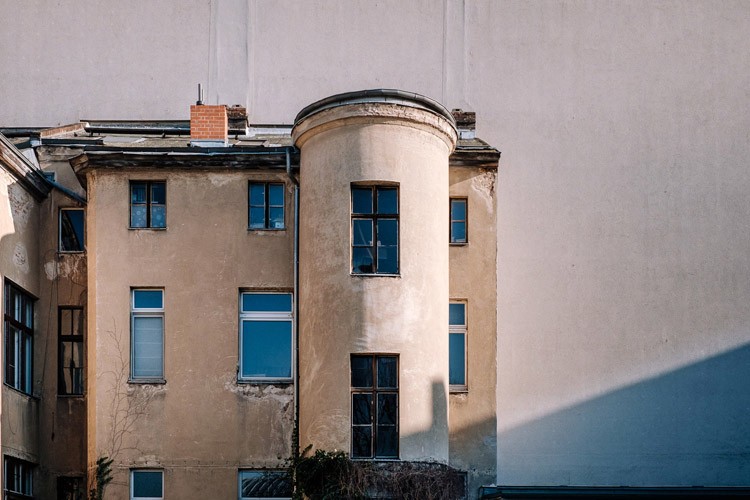
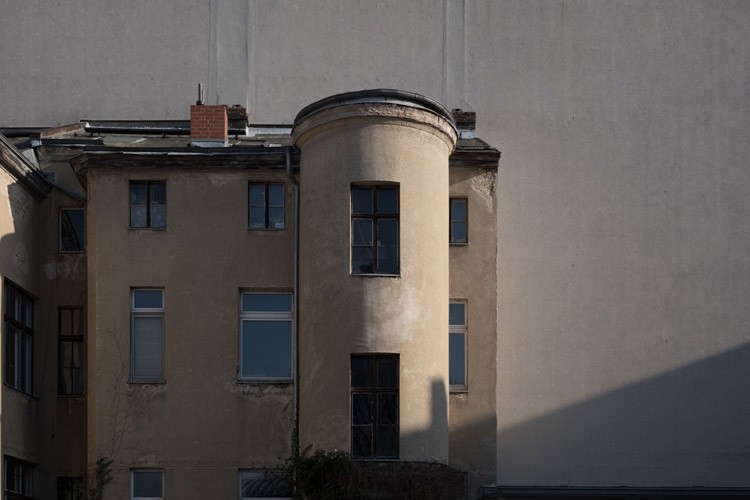
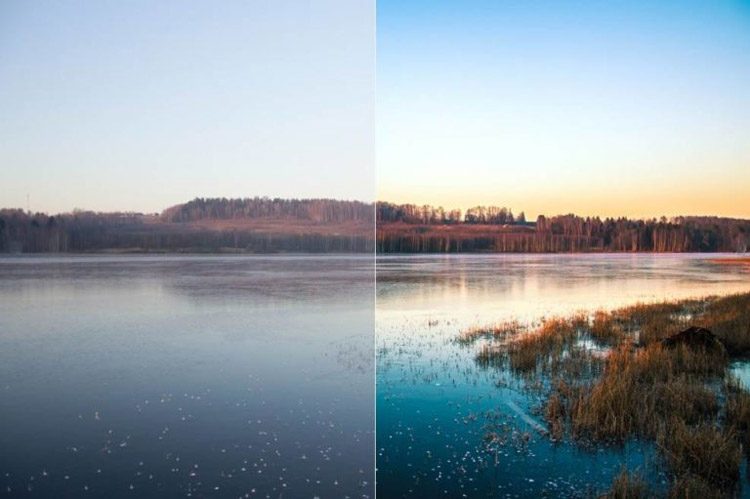
Look, what effects can be achieved with the help of easy to use plug-ins for the professional photo editor. The result is impressive - in most cases you get the impression of a quality retouching of the pictures. But we remind: not always presets help to improve a photo. There are many situations when you need only manual editing of the photo in the editor.
Use professional photo retouching
If you do not have enough time, the opportunity or the desire to experiment with presets, make the right decision - entrust the processing of one or a series of photos to us. We provide professional retouch of any type: from light editing to deep high-end photo retouching.
Our team consists of experienced professionals who have undergone a hard lot of selection and skills testing. This allows us to edit photos of any complexity, work fast and offer fair prices. Order retouching - we guarantee an individual approach, confidentiality and realize any of your wishes. We turn photos into masterpieces!

